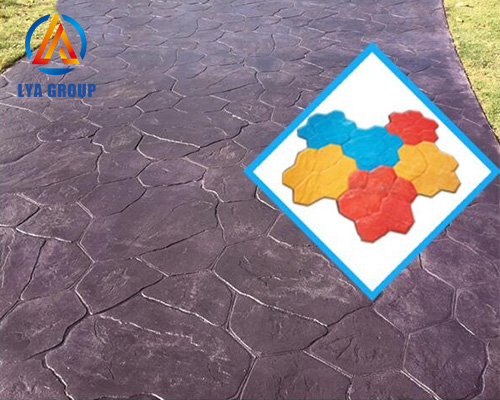
Concrete stamp mold
News 2024年4月3日 117

Creating concrete stamp molds allows you to replicate patterns and textures on concrete surfaces, giving them a decorative and unique appearance. Here’s a guide on how to make a concrete stamp mold:
Prepare the prototype: Clean the surface of your prototype and ensure it’s free from dirt, dust, or any other contaminants. Apply a mold release agent to the surface of the prototype to facilitate easy removal from the mold.
Build a mold box: Construct a frame or container around the prototype using materials like plywood, melamine, or plastic. The mold box should be slightly larger than the prototype to accommodate the mold material and any reinforcing materials.
Mix and pour the mold material: Follow the manufacturer’s instructions to mix the mold-making material. Typically, you’ll need to mix two components together in specific proportions. Thoroughly stir the mixture to ensure it’s well-blended. Carefully pour the mold material into the mold box, covering the prototype and any reinforcing materials. Tap the mold box gently to remove any trapped air bubbles.
Allow the mold to cure: The curing time will depend on the type of mold-making material you’re using.
Demold: Once the mold material has fully cured, carefully remove the mold box and separate the mold from the prototype. Depending on the mold material, you may need to flex or peel the mold away from the prototype. Take your time to avoid damaging the mold or the prototype.
Test and refine: Test your concrete stamp mold by pressing it onto a piece of fresh concrete. Check the resulting texture and pattern. If necessary, make any adjustments or refinements to the mold to improve the desired effect..
If you are interested in it, please contact me.